10. Creating a Release
10.1. Overview
When we put out a new release we create two initial assets and tag the release candidate branch.
A source code tar file that includes a
build_visitscript that references the tagged release.A unified
build_visitscript that references the tagged release and includes the checksum for the source code tar file.
10.2. Creating the release
We will describe creating a release by way of example using the steps used to create the 3.3.3 release.
10.2.1. Before tagging a release
Before you tag a release, make sure VisIt’s Read the Docs build process is passing on the relevant RC branch. When a new release tag is added to our GitHub repo, Read the Docs will automatically build and serve docs for the release.
10.2.2. Tagging the release
Commit a change that references the tagged release, which in our case is 3.3.3.
git checkout 3.3RC
git pull
git checkout -b task/brugger1/2023_03_30_build_visit
vi src/tools/dev/scripts/build_visit
git add src/tools/dev/scripts/build_visit
git commit -m "Temporarily set release in build_visit to v3.3.3."
git push --set-upstream origin task/brugger1/2023_03_30_build_visit
git branch -D task/brugger1/2023_03_30_build_visit
At this point you are ready to tag the release.
git checkout 3.3RC
git pull
git tag v3.3.3
git push origin v3.3.3
10.2.3. Creating first two release assets: source tarball and build_visit script
Now you are ready to create the distribution tar file.
scripts/visit-dist visit3.3.3
Now you are ready to create the unified build_visit script.
src/tools/dev/scripts/build_visit --write-unified-file build_visit3_3_3
Now we revert the build_visit script on the 3.3RC branch to point at the 3.3RC.
git checkout -b task/brugger1/2023_03_30_build_visit_v2
vi src/tools/dev/scripts/build_visit
git add src/tools/dev/scripts/build_visit
git commit -m "Restore the release in build_visit to 3.3RC."
git push --set-upstream origin task/brugger1/2023_03_30_build_visit_v2
git checkout 3.3RC
git branch -D task/brugger1/2023_03_30_build_visit_v2
10.3. Creating the release assets page at GitHub
Now we are ready to create a new release assets page at GitHub. If you go to GitHub and go to the Releases tab you can create the new release. Click on Draft a new release to bring up the form to create a new release.
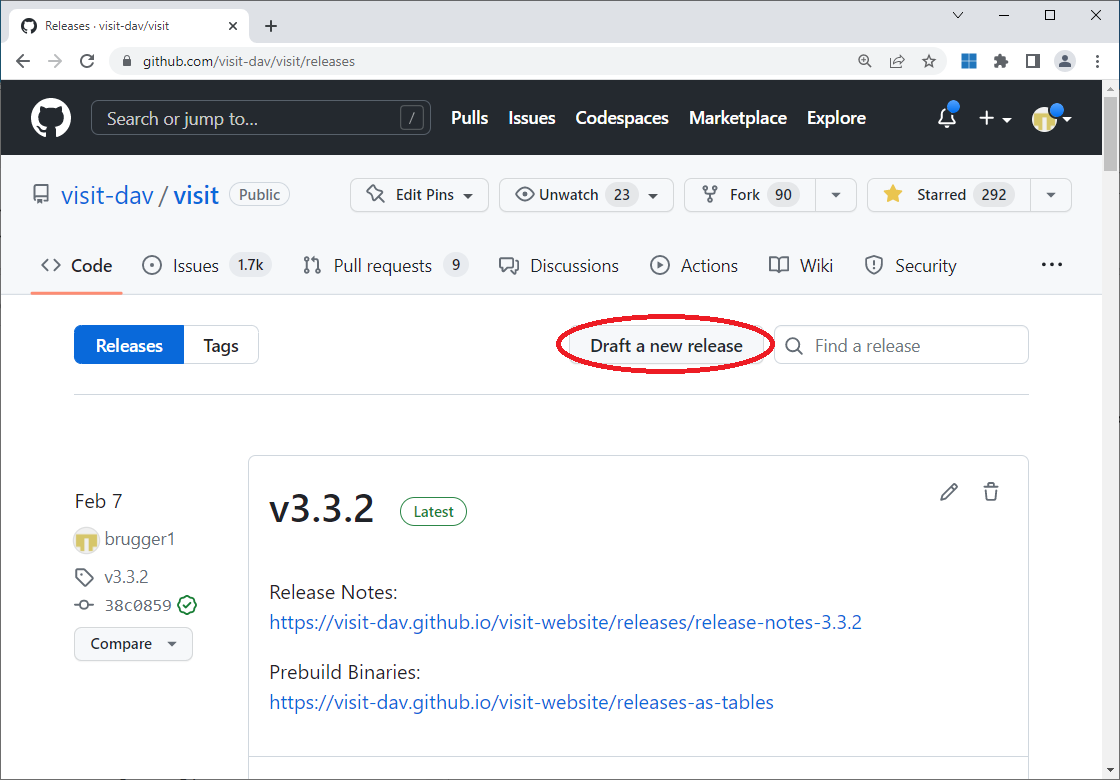
Fig. 10.44 Drafting the new release.
Now you can choose the tag for the release.
Click on Choose a tag and select the v3.3.3 tag.
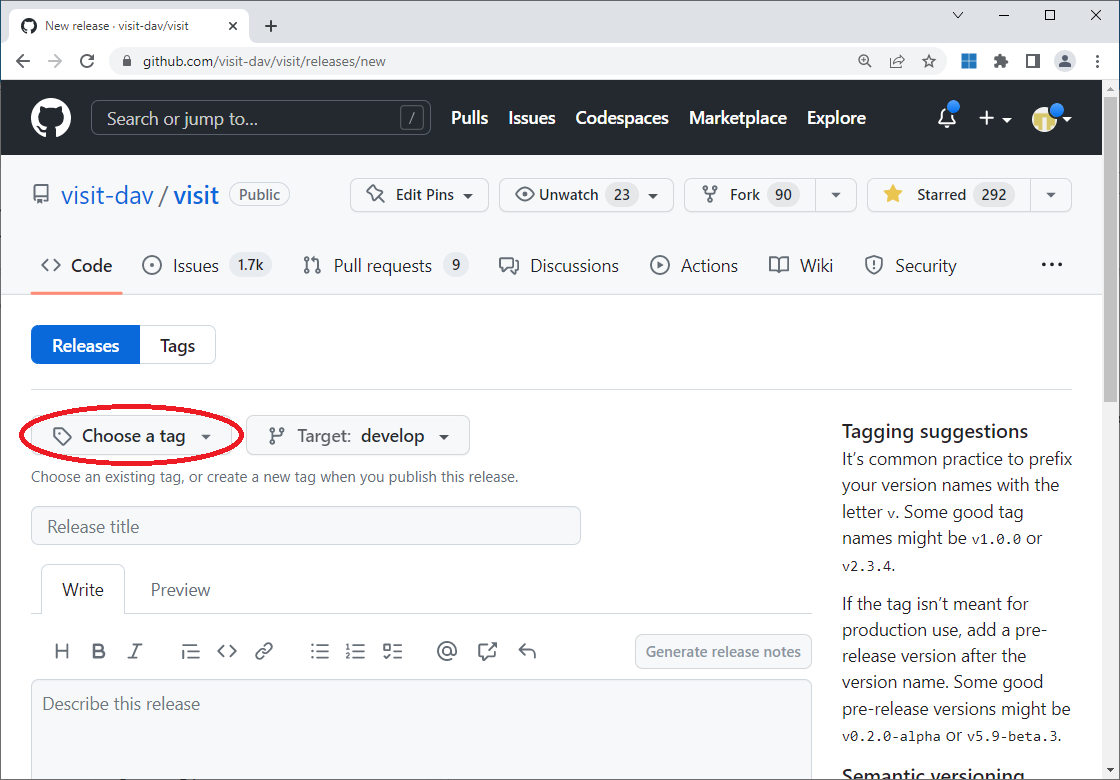
Fig. 10.45 Choosing the tag.
Now you can describe the release.
Occasionally, we update the description of a release after the release is completed to deal with minor changes post-release.
Enter v3.3.3 for the title and add the description as shown below.

Fig. 10.46 Describing the release.
At this point you can go to the bottom of the window and click on Save draft.
Your newly created release will now appear.
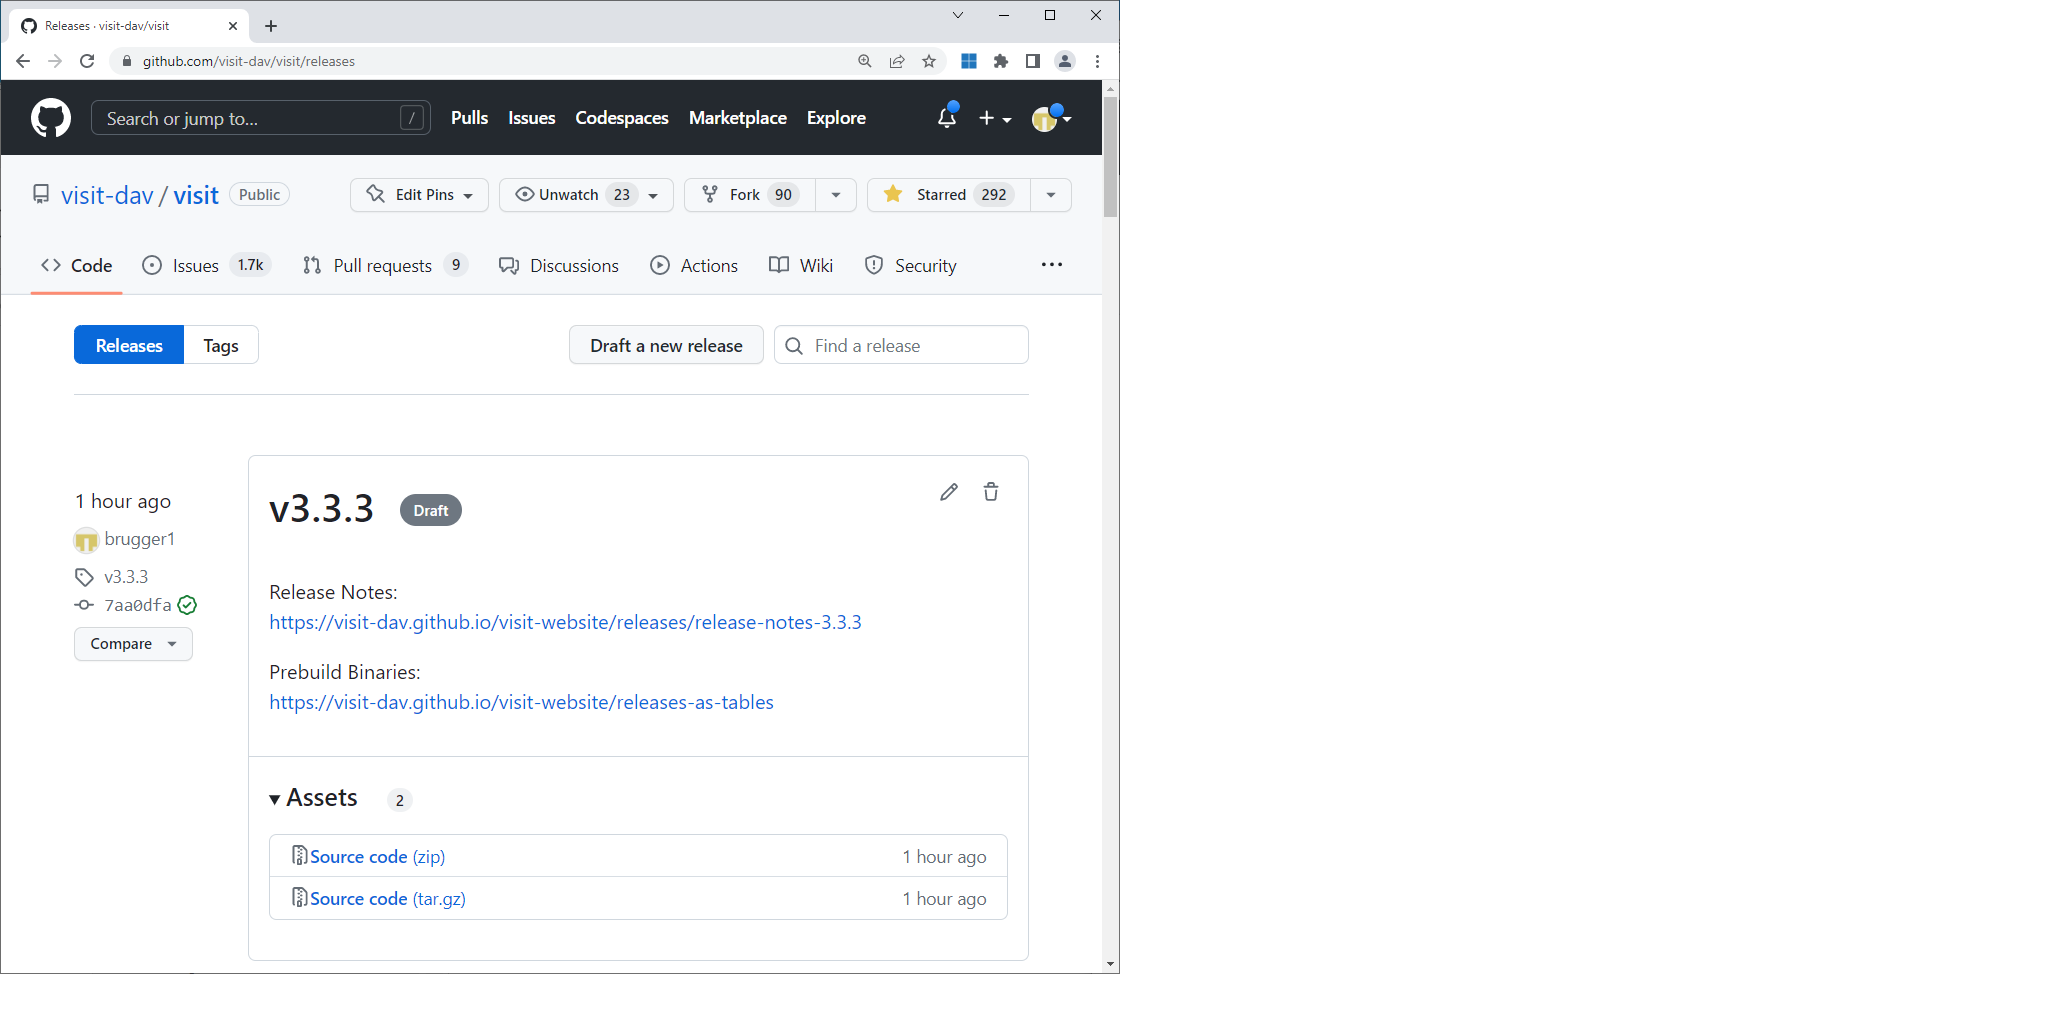
Fig. 10.47 The newly created release.
Now you can edit the release and add the unified build_visit script and the source code tar file.
Do not Publish the release as you add assets.
You should just Save the release.
If you publish the release, a notification will go out to everyone watching the VisIt repository and it will show up as the latest release on the releases tab.
You should wait until you have all of the assets before publishing the release.
You should also wait until you have the website updates (described next) ready to go so that you can update it after publishing the release.
10.4. Updating the VisIt website
Once you have created the release you will need to update the VisIt website.
It is in the repository visit-dav/visit-website.
Changes are typically made to the VisIt website repository directly on the main gh-pages branch.
10.4.1. Creating the release notes
The website contains a copy of the release notes.
The release notes in the VisIt repository is written in raw html and the website is written in Markdown.
The release notes are located in pages/releases.
Copy one of the release notes files that is closest to the type of release you are making, either a patch release or a minor release, as a starting point.
Remove or update any version specific content from the new release notes file.
Copy the raw html from the VisIt repository release notes into the Markdown release notes file and convert the raw html into Markdown.
Commit the changes when you are finished, but don’t push them to GitHub yet or they will become live.
10.4.2. Updating the release table
The website contains a page with a series of tables, one for each minor release series with links to the assets for the releases.
The tables are located in pages/releases-as-tables.md.
If you are releasing a new minor release series you will need to add a new table.
If you are releasing a new patch release you will need to add a column on the left side of the table.
The most recent release is added as the first column in the table.
In each case you should use an existing table as an example for adding the new release.
Each release also has a series of shortcuts for each of the release assets.
You can copy an existing series of shortcuts and update them for the current release.
If you don’t have all of the release assets added to the release you should use Coming soon! as a substitute for the link.
If you don’t do this, people will follow the broken links and report it to you.
Commit the changes when you are finished.
Once the release has been published you can push the changes to GitHib so that the links actually point to something.
10.4.3. Creating a blog entry for the new release
We create a new blog entry for each release.
The blog entries are located in _posts.
Copy one of the existing blog posts for a release that is closest to the type of release you are making, either a patch release or a minor release, as a starting point.
Remove or update any version specific content from the new blog post.
Patch releases list the number of bug fixes and enhancements along with a teaser of an interesting enhancement.
Minor releases also contain a teaser followed by the two or three major enhancements in the release.
Three major enhancements is prefereable to two and sometimes you will need to aggregate multiple enhancements into a major enhancement.
Use the existing posts as examples.
Commit the changes when you are finished.
You should only push the changes to GitHub once the release has been published and the other website changes have been pushed to GitHub.
You can push all the website changes in a single push.
10.5. Updating the Spack package.py file
Once a new VisIt release is actually available as a release, the Spack VisIt package should be reviewed for any changes needed to build this release.
Generally, this work should be put in a pull request to Spack’s develop branch.
We think Spack is being released often enough that changes pushed to their develop will make it into a public release less than a few months later.
If earlier public availability of this release of VisIt with Spack is needed, then have a look at Spack’s project boards to find a suitable upcomming minor release and consider pushing it there.
Be aware, however, that if any of the changes made result in changes to how VisIt conrcretizes in Spack, it may be required to be delayed to a major release of Spack.
10.6. Deleting a release
If you mess up the tag or the release you can delete the tag using git commands.
git tag -d v3.0.1
git push origin :refs/tags/v3.0.1
You can then remove the release at GitHub. The release will change to a draft release because the tag no longer exists. Go ahead and click on the release to bring up the draft release.
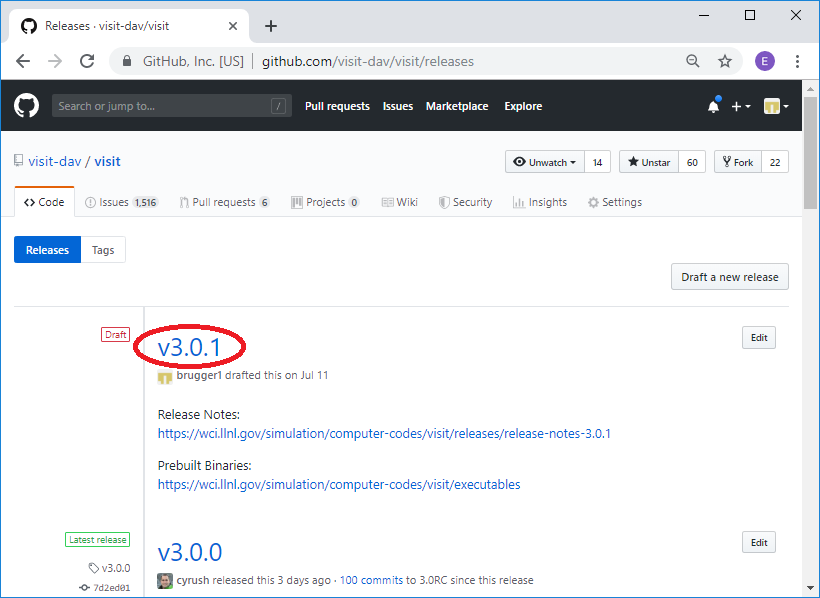
Fig. 10.48 Selecting the draft release corresponding to the deleted tag.
Click on Delete to delete the release.
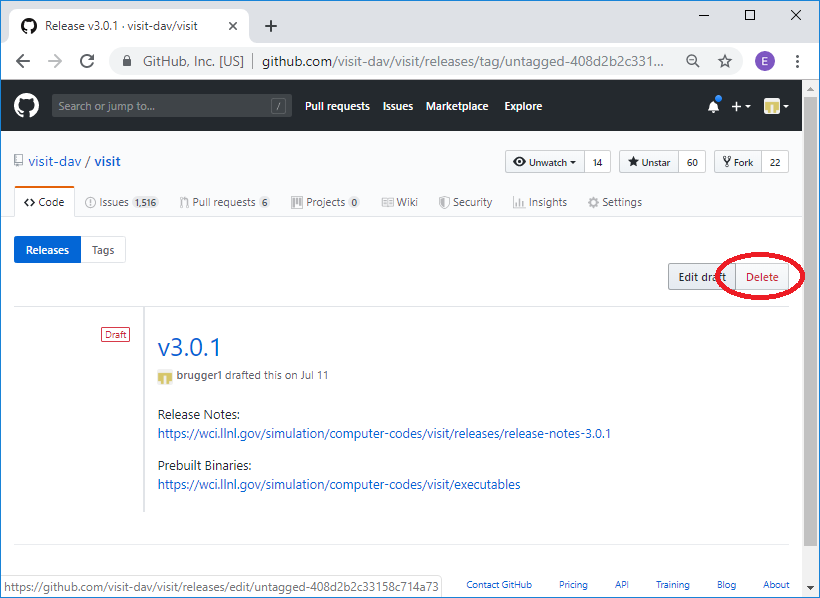
Fig. 10.49 Deleting the draft release corresponding to the deleted tag.